Best Screen Recording Settings for Mac
Introduction
Ever found yourself wishing you could save a live stream, a complex tutorial, or a gaming session to revisit later? Screen recording on your Mac can be your superhero in such scenarios. But stepping into the world of screen recording can be daunting, especially when it comes to tweaking the settings to perfection. That’s where we come in, guiding you to attain seamless, high-quality recordings by delving into the optimal settings for Mac users. Let’s get started!
Optimal Settings Guide
Resolution
- 1080p (1920×1080): A common choice to ensure HD recordings without monstrous file sizes.
- Use case: Ideal for recording high-definition videos or tutorials.
Frame Rate (FPS)
- 30 to 60 FPS: 30 FPS suffices for regular content, while 60 FPS caters to dynamic, fast-paced recordings.
- Expert Tip: Gamers, opt for 60 FPS to capture every detail precisely.
Audio
- Balanced Audio Levels: Avoid faint or too loud sounds to ensure clarity.
- Scenario: System audio for recording streams, microphone for voiceovers, and a combo for interactive content.
Encoding
- H.264 codec: It stands as a favorite, balancing compression and quality maintenance superbly.
- Expert Opinion: Most Mac users prefer this for its efficiency and quality retention.
Bitrate
- Optimal Selection: Navigate the fine balance between quality and file size for a smooth experience.
- Tip: Opt for higher bitrates for detailed videos but be prepared for larger file sizes.
File Format
- MP4: Recognized for wide compatibility and impressive compression efficiency.
- Use Case: Perfect for sharing recordings across different platforms due to its universal format.
Mac Screen Recording Tips and Tricks
Keyboard Shortcuts
- Quick Access: Use “Command + Shift + 5” for quick access to screen recording tools on macOS Mojave and later. Dive deeper into Mac screen recording shortcuts for more tips.
Audio Monitoring
- Real-Time Check: Maintain balanced audio levels by enabling real-time monitoring while recording through a microphone.
Record System Audio
- Full Experience: Capture system audio for a wholesome recording, especially for tutorials or musical content. Check out these software options permitting this feature.
Mouse Clicks Recording
- Viewer Engagement: Highlight mouse clicks to facilitate viewer tracking, essential in tutorials, or demonstrations.
Video Annotations
- Enhance: Use text annotations or callouts during editing to accentuate critical points.
Segmented Recording
- Editing Ease: Opt for shorter segments to simplify the editing process, allowing for more post-production flexibility.
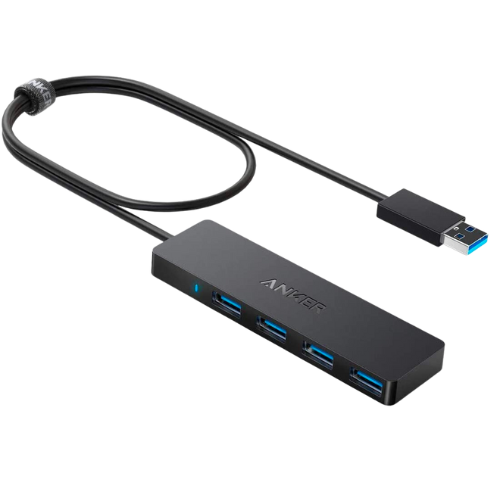
Equip Your Mac with USB Hub Shop
As you embark on your screen recording journey, don’t forget to gear up your Mac with essential accessories from the USB Hub Shop. From enhancing your Mac’s connectivity to finding the perfect hub that meets all your recording needs, we have got you covered.
Conclusion
Embarking on a screen recording project is exciting but necessitates the perfect set of settings. From choosing the right resolution to understanding the optimal bitrate, setting things right paves the way for a seamless recording experience. Follow our guide to capture screen recordings like a pro, and don’t forget to equip your Mac with the best accessories from USB Hub Shop.
Got more tips or facing challenges while setting up your screen recording settings on Mac? Share with us in the comments below, and let’s create a hub of knowledge and solutions together.