How to Take a Screenshots on Mac
Capturing screenshots on a Mac is a straightforward process. Here we detail various methods to take a screenshot on a Mac, including tips to optimize your screen recording and screenshot experience:
- Full Screen: Press “Command + Shift + 3”. Find more tips on Mac screen recording here.
- Selected Area: Use the shortcut “Command + Shift + 4”. Learn more about screen recording software for Mac to enhance your screenshots.
- Window or Menu: To capture a specific window or menu, use “Command + Shift + 4 + Spacebar”.
- Screen Recording: For macOS Mojave and later, utilize “Command + Shift + 5”. Discover more Mac screen recording and screenshot tips on our blog.
How to Crop a Screenshot on Mac
Cropping is essential to highlight the focal point of your screenshot. Here is how you can crop a screenshot on Mac with additional insights on how to effectively manage your device:
- Capture a screenshot using the methods mentioned above.
- Open the screenshot in the Preview application.
- Click on “Show Edit Toolbar” to access the editing options.
- Use the crop tool to select the part of the screenshot you wish to keep.
- Save your newly cropped screenshot.
How to Paste a Screenshot on Mac
Pasting a screenshot into documents is easy and convenient. Here’s how to paste a screenshot on Mac:
- Capture a screenshot using your preferred method.
- Locate the document where you want to paste the screenshot.
- Use “Command + V” to paste the screenshot into the document.
For more insights into using your Mac efficiently, explore our comprehensive guide on device management.
USBHubShop.com
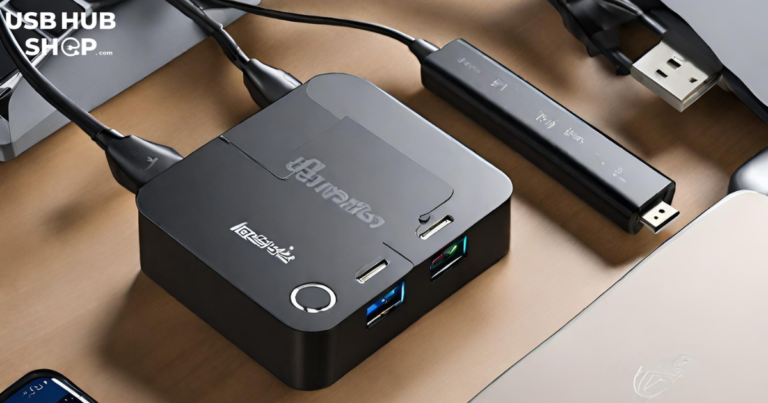
Expand your Mac’s connectivity with high-quality USB hubs from USBHubShop.com. Here are some popular choices each featuring detailed reviews on our blog:
- Anker 4-Port USB 3.0 Hub: Boasts four USB 3.0 ports housed in a sleek design, perfect for Mac users.
- Belkin USB C Hub 7-in-1 Multi-Port Laptop Dock: Offers extensive connectivity options including eight USB 3.0 ports.
- Unitek USB Charging Station 120W 10 Fast Port Multi Charge Docking Hub: Ideal for multimedia professionals, offering SD and Micro SD slots and additional USB 3.0 ports.
Visit USBHubShop.com to explore more options and read detailed reviews on these and other USB hubs to find the one that suits your needs best.
Conclusion
Whether for a MacBook or an iMac, USBHubShop.com offers a hub to cater to your requirements. Browse our collection today to find the perfect USB hub for your Mac, and don’t miss our latest insights on the recently unveiled Apple’s iPhone 15 series.